You’re working on your WordPress site, maybe adding a blog post or adjusting the design. Everything seems fine until, out of nowhere, you see a blank screen with the message: 403 Forbidden – Access Denied. You panic. What went wrong? Is your site broken or hacked?
This is a moment almost every WordPress user experiences at some point. Your heart races as you wonder how to fix this issue and whether your hard work is at risk. But don’t worry—this isn’t the end of your WordPress journey. It’s just one of those hiccups that come with managing a website. Don’t worry—this happens to almost everyone at some point. It’s just a common issue that can feel scary but is totally fixable.
The 403 Forbidden error is like a roadblock stopping access to parts of your site or the whole thing. While it might seem complicated, it’s usually easy to fix without needing outside help.
In this guide, we’ll explain what causes the error, why it happens, and give you simple steps to fix it. Let’s turn this challenge into a quick fix and get your site running smoothly again.
What is 403 Forbidden – Access Denied
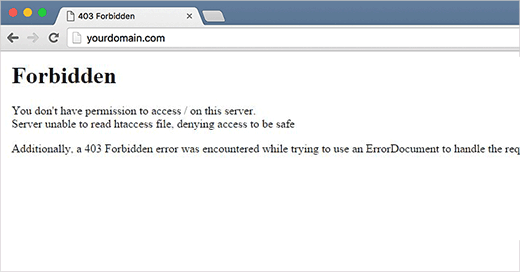
In simple terms, the 403 error is your website’s way of saying, “You’re not authorized to access this page or resource.” It’s an HTTP status code that pops up when the server (your hosting platform) denies access to your browser or device.
For WordPress websites, this error often stems from common issues like:
- A corrupted .htaccess file
- Incorrect file permissions
- Conflicts caused by plugins
Other possible causes include:
- Missing access authorizations
- Blocked IPs
- Missing authentication
Fixing the “403 Forbidden” error
1. Fix .htaccess file
Think of your .htaccess file as the rulebook for your website—it tells the server how to handle requests. But if this rulebook gets corrupted, even by a minor misconfiguration, your site can throw a 403 Forbidden error.
Here are the steps to fix a corrupted .htaccess file and resolve the 403 Forbidden error:
- Go to your wordpress file.
- Open .htaccess file
- Edit the file and then save
RewriteEngine On
RewriteRule .* - [E=HTTP_AUTHORIZATION:%{HTTP:Authorization}]
RewriteBase /
RewriteCond %{HTTPS} off
RewriteRule (.*) https://%{HTTP_HOST}%{REQUEST_URI} [L,R]
RewriteRule ^index\.php$ - [L]
RewriteCond %{REQUEST_FILENAME} !-f
RewriteCond %{REQUEST_FILENAME} !-d
RewriteRule . /index.php [L]
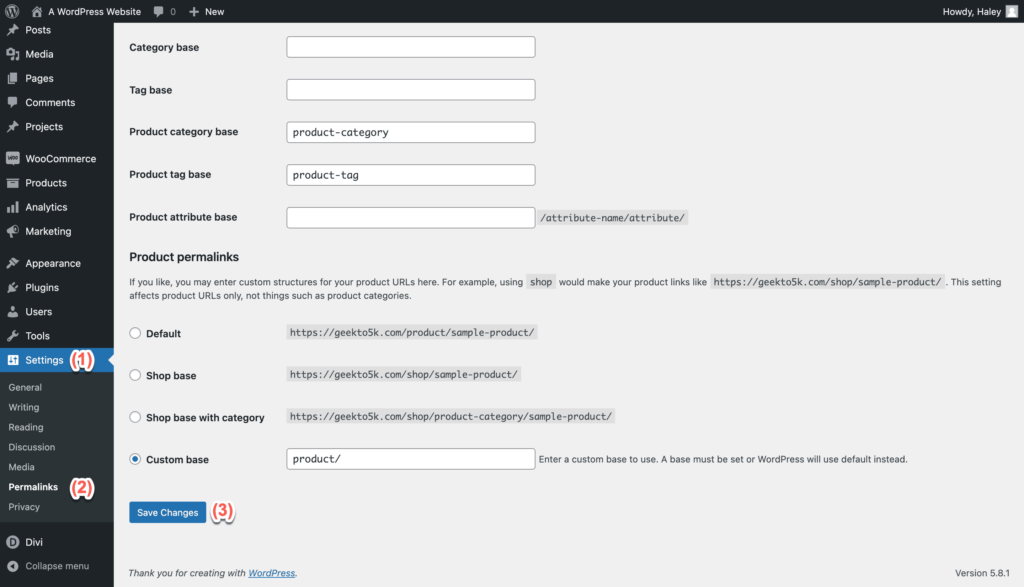
# END WordPress- Now go to setting from the wordpress dashboard
- Click on permalinks
- Select Custom base
- Save Changes
2. Adjust file permission
Incorrect file permissions can prevent your WordPress website from functioning properly, leading to errors like 403 Forbidden.
This issue can be resolved by ensuring the correct permissions are set for your files and directories. Here’s how to fix it
- Access Your WordPress Files
– Use an FTP client like FileZilla or the File Manager in your hosting control panel (e.g., cPanel).
– Navigate to the root directory of your WordPress installation (usuallypublic_htmlor similar) - Enable Hidden Files
– Enable the “Show Hidden Files” option in your FTP client or File Manager to ensure you can see all files. - Check Current Permissions
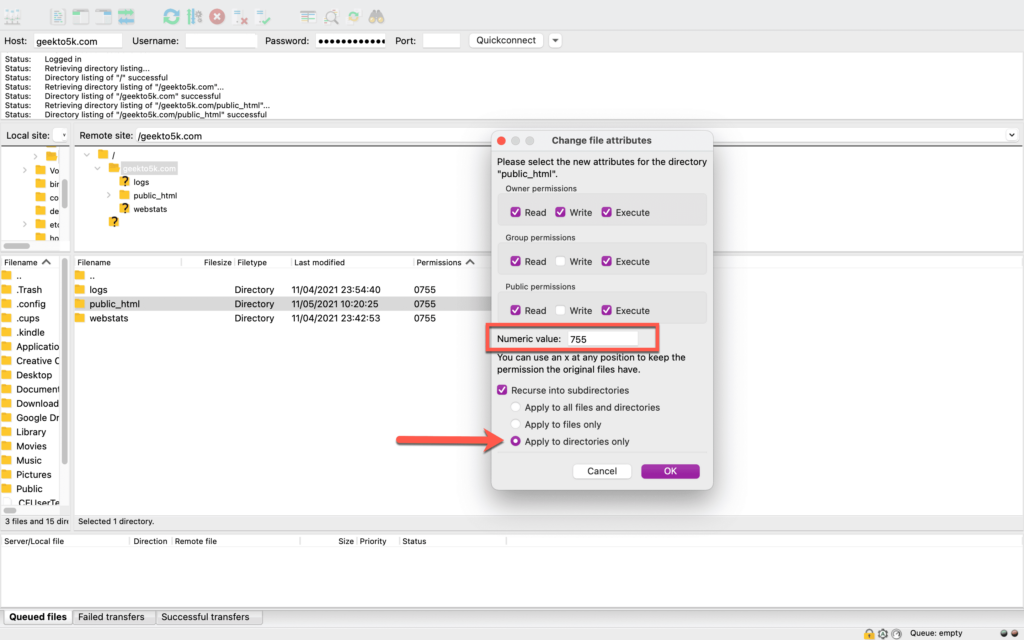
– For files, the correct permission is 644 (read and write for the owner, read-only for others).
– For directories, the correct permission is 755 (read, write, and execute for the owner, read and execute for others).
– Adjust the permissions by entering the appropriate numbers and clicking OK or Apply. - Apply Changes to Subdirectories (Optional)
– If asked, select “Apply to all subdirectories and files” for directories when setting permissions.
3. Fix Plugins (Deactivate plugin)
A faulty or misconfigured plugin might be causing the error.
Step 1: Log in to your hosting dashboard or use FTP.
Step 2: Navigate to /wp-content/plugins/.
Step 3: Rename the plugins folder to something like plugins_backup.
Step 4: Check if the error is resolved. If it is, revert the folder name and activate plugins one by one to identify the culprit.
4. Clear Browser Cache
Sometimes, the issue is local. Clear your browser’s cache and cookies or try accessing the site in Incognito Mode.
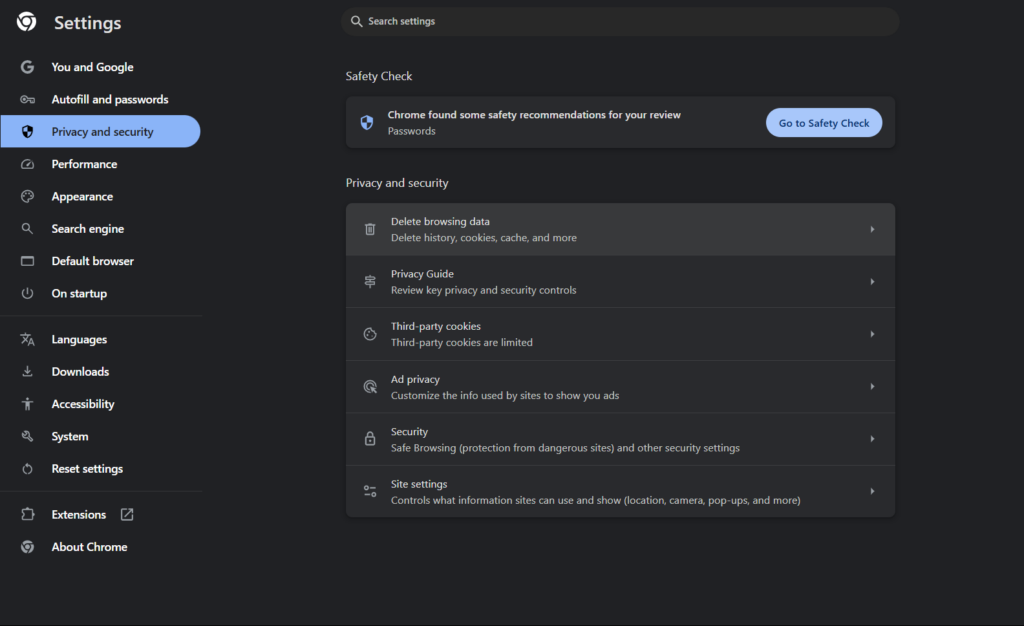
To clear your cache in Google Chrome, click the three-dot menu icon in the top-right corner of the browser.
Navigate to More Tools > Clear Browsing Data. Alternatively, you can press CTRL + SHIFT + DEL on your keyboard.
In the popup window, check the box for “Cached images and files”, select a time range (e.g., “Last 24 hours”) from the Time Range dropdown, and click “Clear data” to delete the cache.